LED Coving - How to fit
How to install LED Coving ProfilesThis is a basic guide to fitting LED Coving or Wall Uplights for LED Strips, also known as Pelmet Lighting, to wash the ceiling around the room with light. We can supply a full high quality LED Wall Uplighting Kit - it includes the LED Coving Profiles, LED Strips, LED Driver, and Colour Controller.
Before you can install the Profiles the wiring should already be in place.
The correct wiring is very important, many electricians get it wrong, by putting the wrong cable in place and at the wrong points. The correct cables must be in place before plasterboarding!
For customers purchasing from us we include bespoke schematics, fiitting guide, important hints and tips that can save costly mistakes. Free technical support by email or phone. Our branded Strips are pre-wired to the exact sizes required, saving additional time and cost.
What we will not do is provide free information and technical support for products bought elsewhere! Our advice is come to us from the outset, we will see the project through from start to finish.
How to install LED Coving Profiles
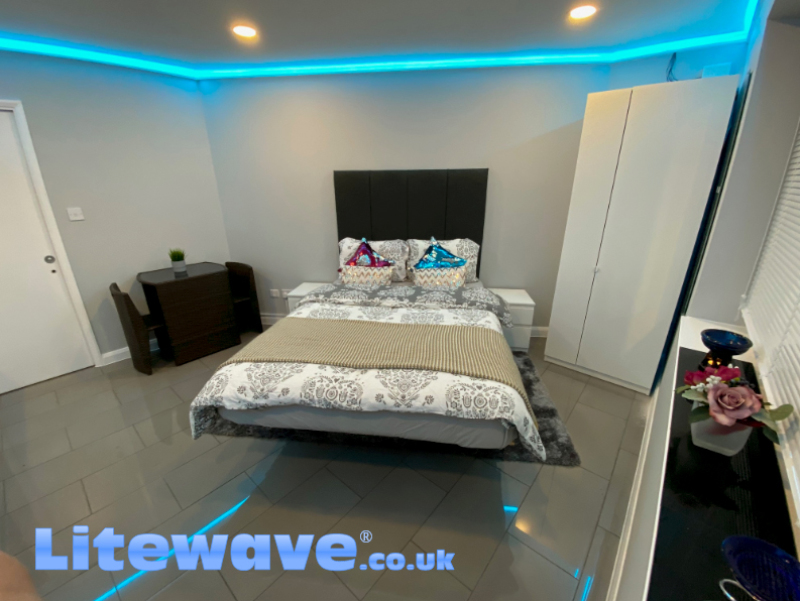
Once the cables are in place and the plasterboard is fitted and skimmed, then it is time to install our Aluminium Coving - Wall Profiles. They offer the advantage of additional cooling by heatsinking the LEDs, this can further extend the operating lifetime of the LEDs by drawing heat away from them into the Aluminium. Another bonus is the covers available in clear or frosted protect the LEDs from moisture, dust, and insect droppings.
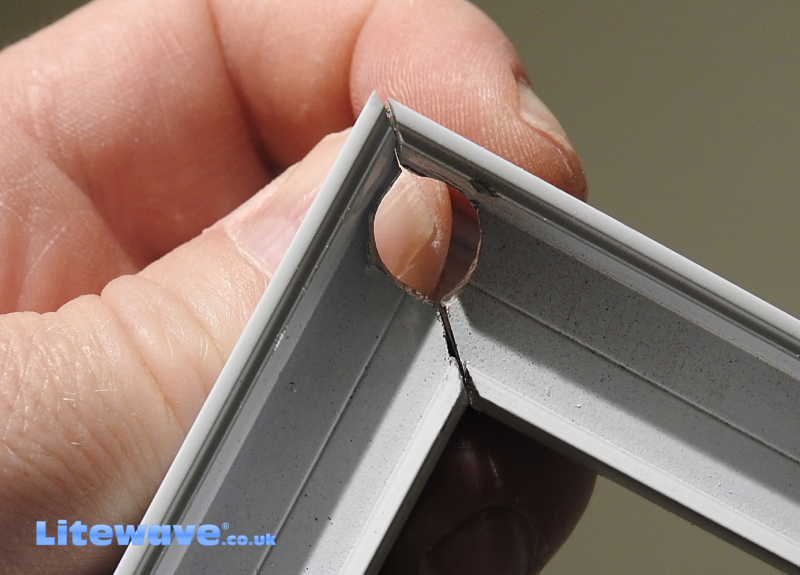
Corners should be mitred at 45 degrees with a chop saw, fitted with a multi material blade.
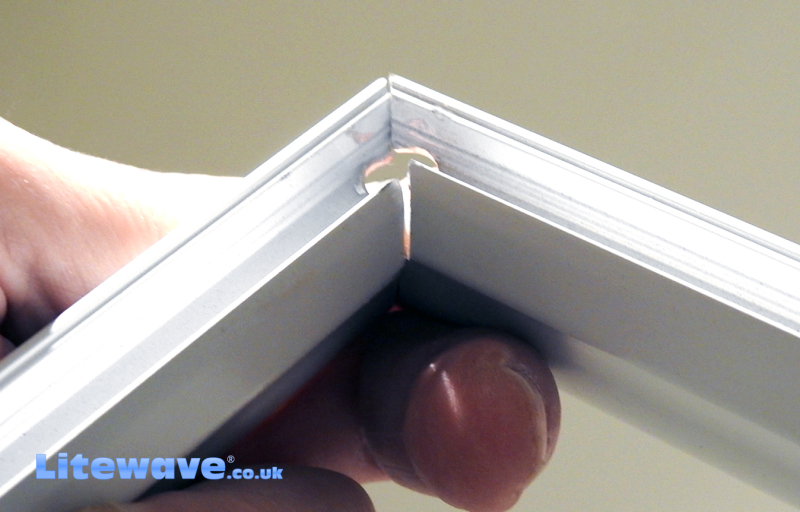
A hole needs to be cut in the back of the Profile allowing for cable entry. Be sure to file around the hole so the wire cannot get damaged
when pulling it through.
Fit the clips for the profile on the wall, following a laser line or chaulk line. Then clip Coving Profiles into place to check. For permanent installation so that there will be no movement, it is important to use an instant grab adhesive behind the profile. Apply a bead of adhesive along the ridge section of the Profile. Fit the profiles into place. The clips will ensure they are held into the adhesive sets.
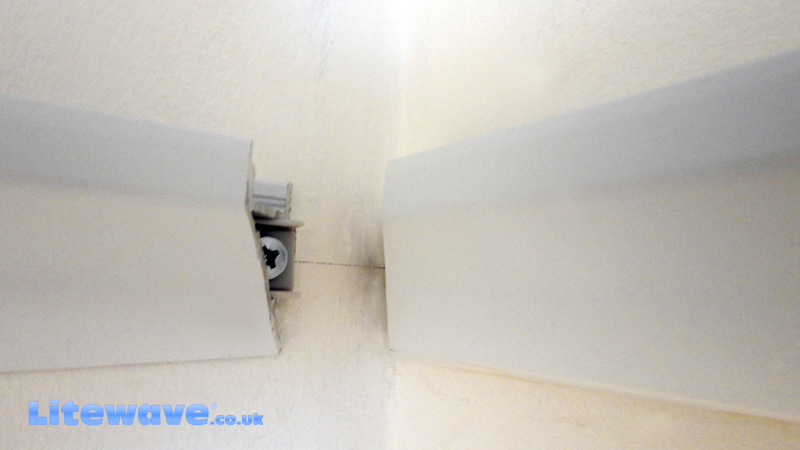
The mitred Profiles should fit close together without any large gaps. Small gaps can be filled prior to painting with caulking,
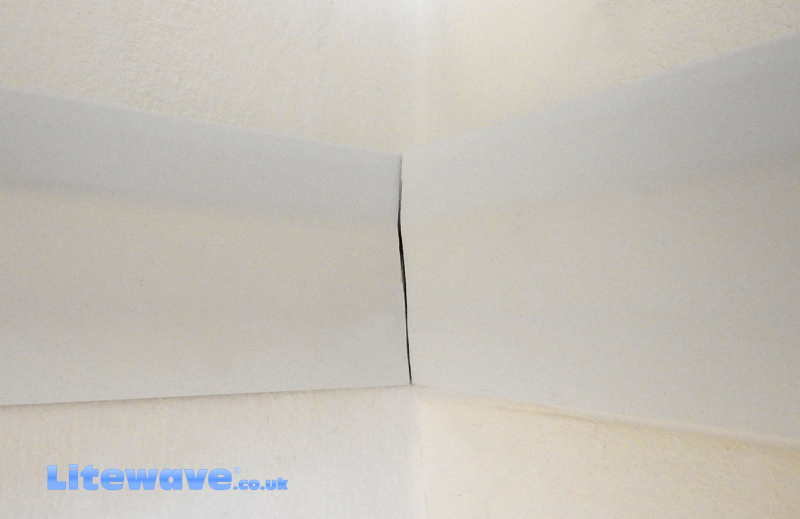
Once all of the Profiles are fitted into place, the gaps and joins can then be filled with Caulking. The Profiles are primered ready for painting. Key the profiles with wet and dry paper so the emulsion more readily takes to the surface.
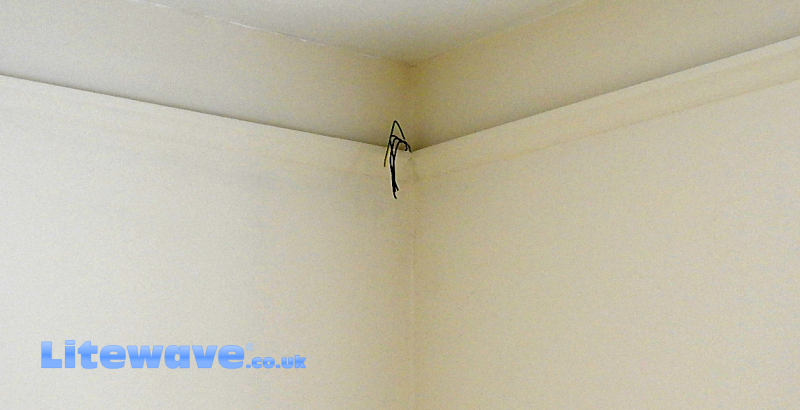
The Profiles are now ready for the LED Strips to be put into place, and the wires from the Strip connected to the pre-fitted wires in the wall.
The covers can then be clipped into place.